3D Print – Table Numbers
Creation: Table Numbers
Designed using: Google Drawing, Tinkercad
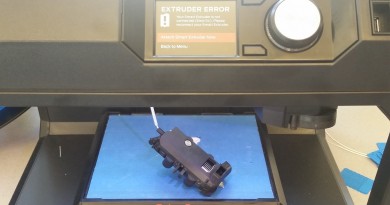
Time to print: 1.5 hours or less each
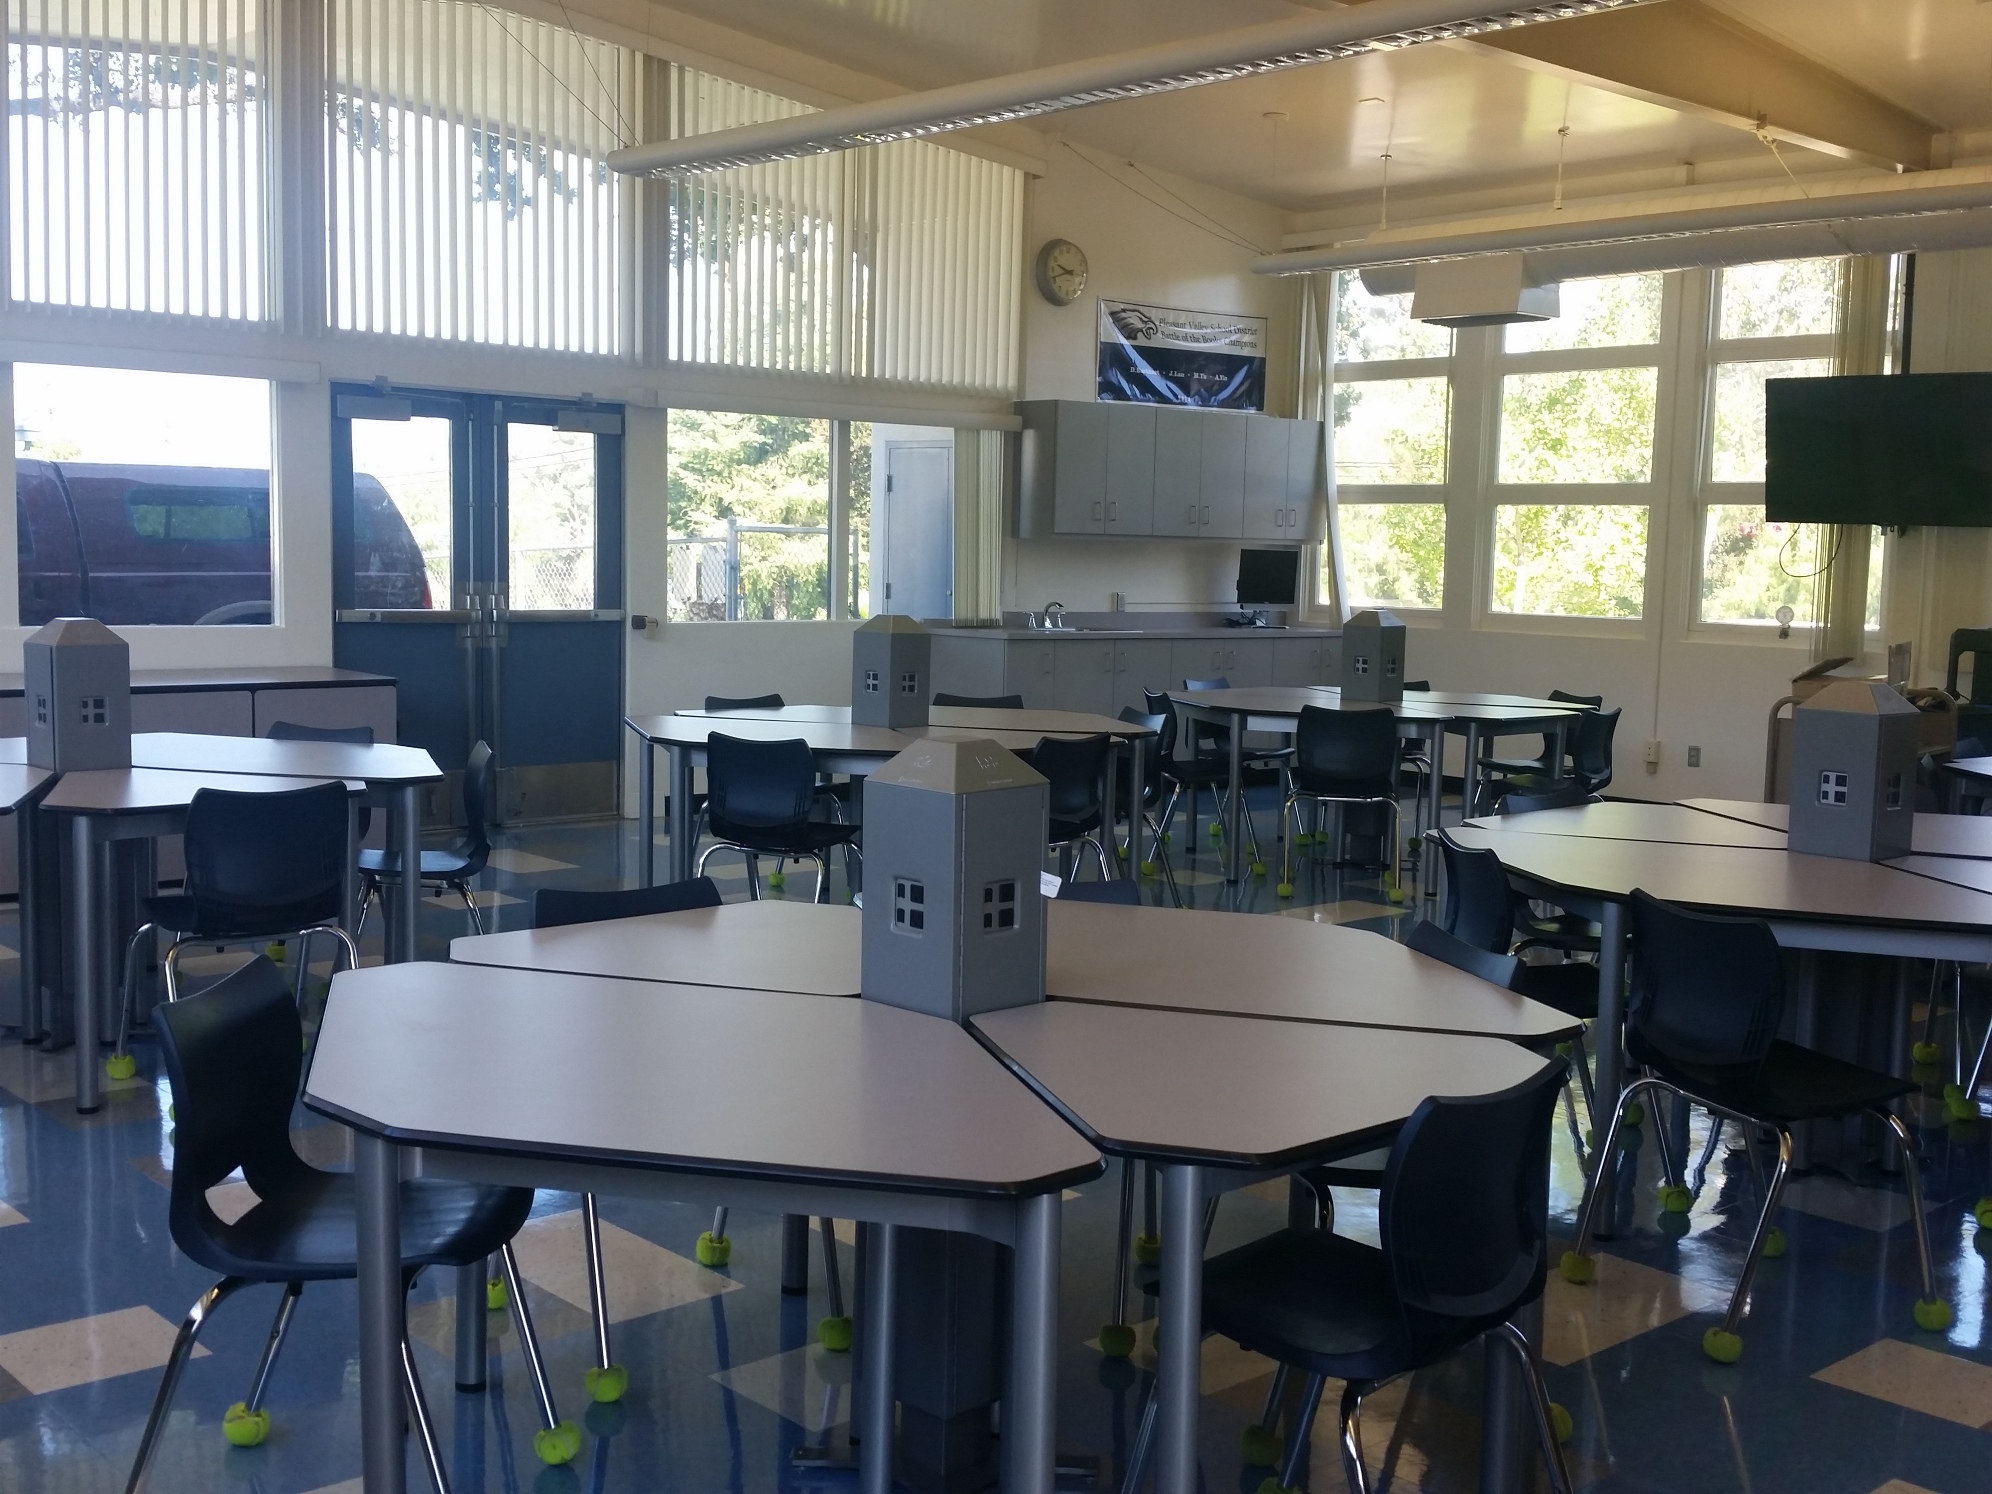
My new classroom- the STEM Lab. This room is the former library that had the majority of the bookshelves removed, new tile laid, and workstation tables in the middle of the room. The picture above is the room as I received it at the start of the school year. To turn this austere space into a more personalized classroom, one of my first goals was to label the tables. Each table has a tower with plugs and Ethernet ports which seemed like a useful place to put numbers for each of the tables.
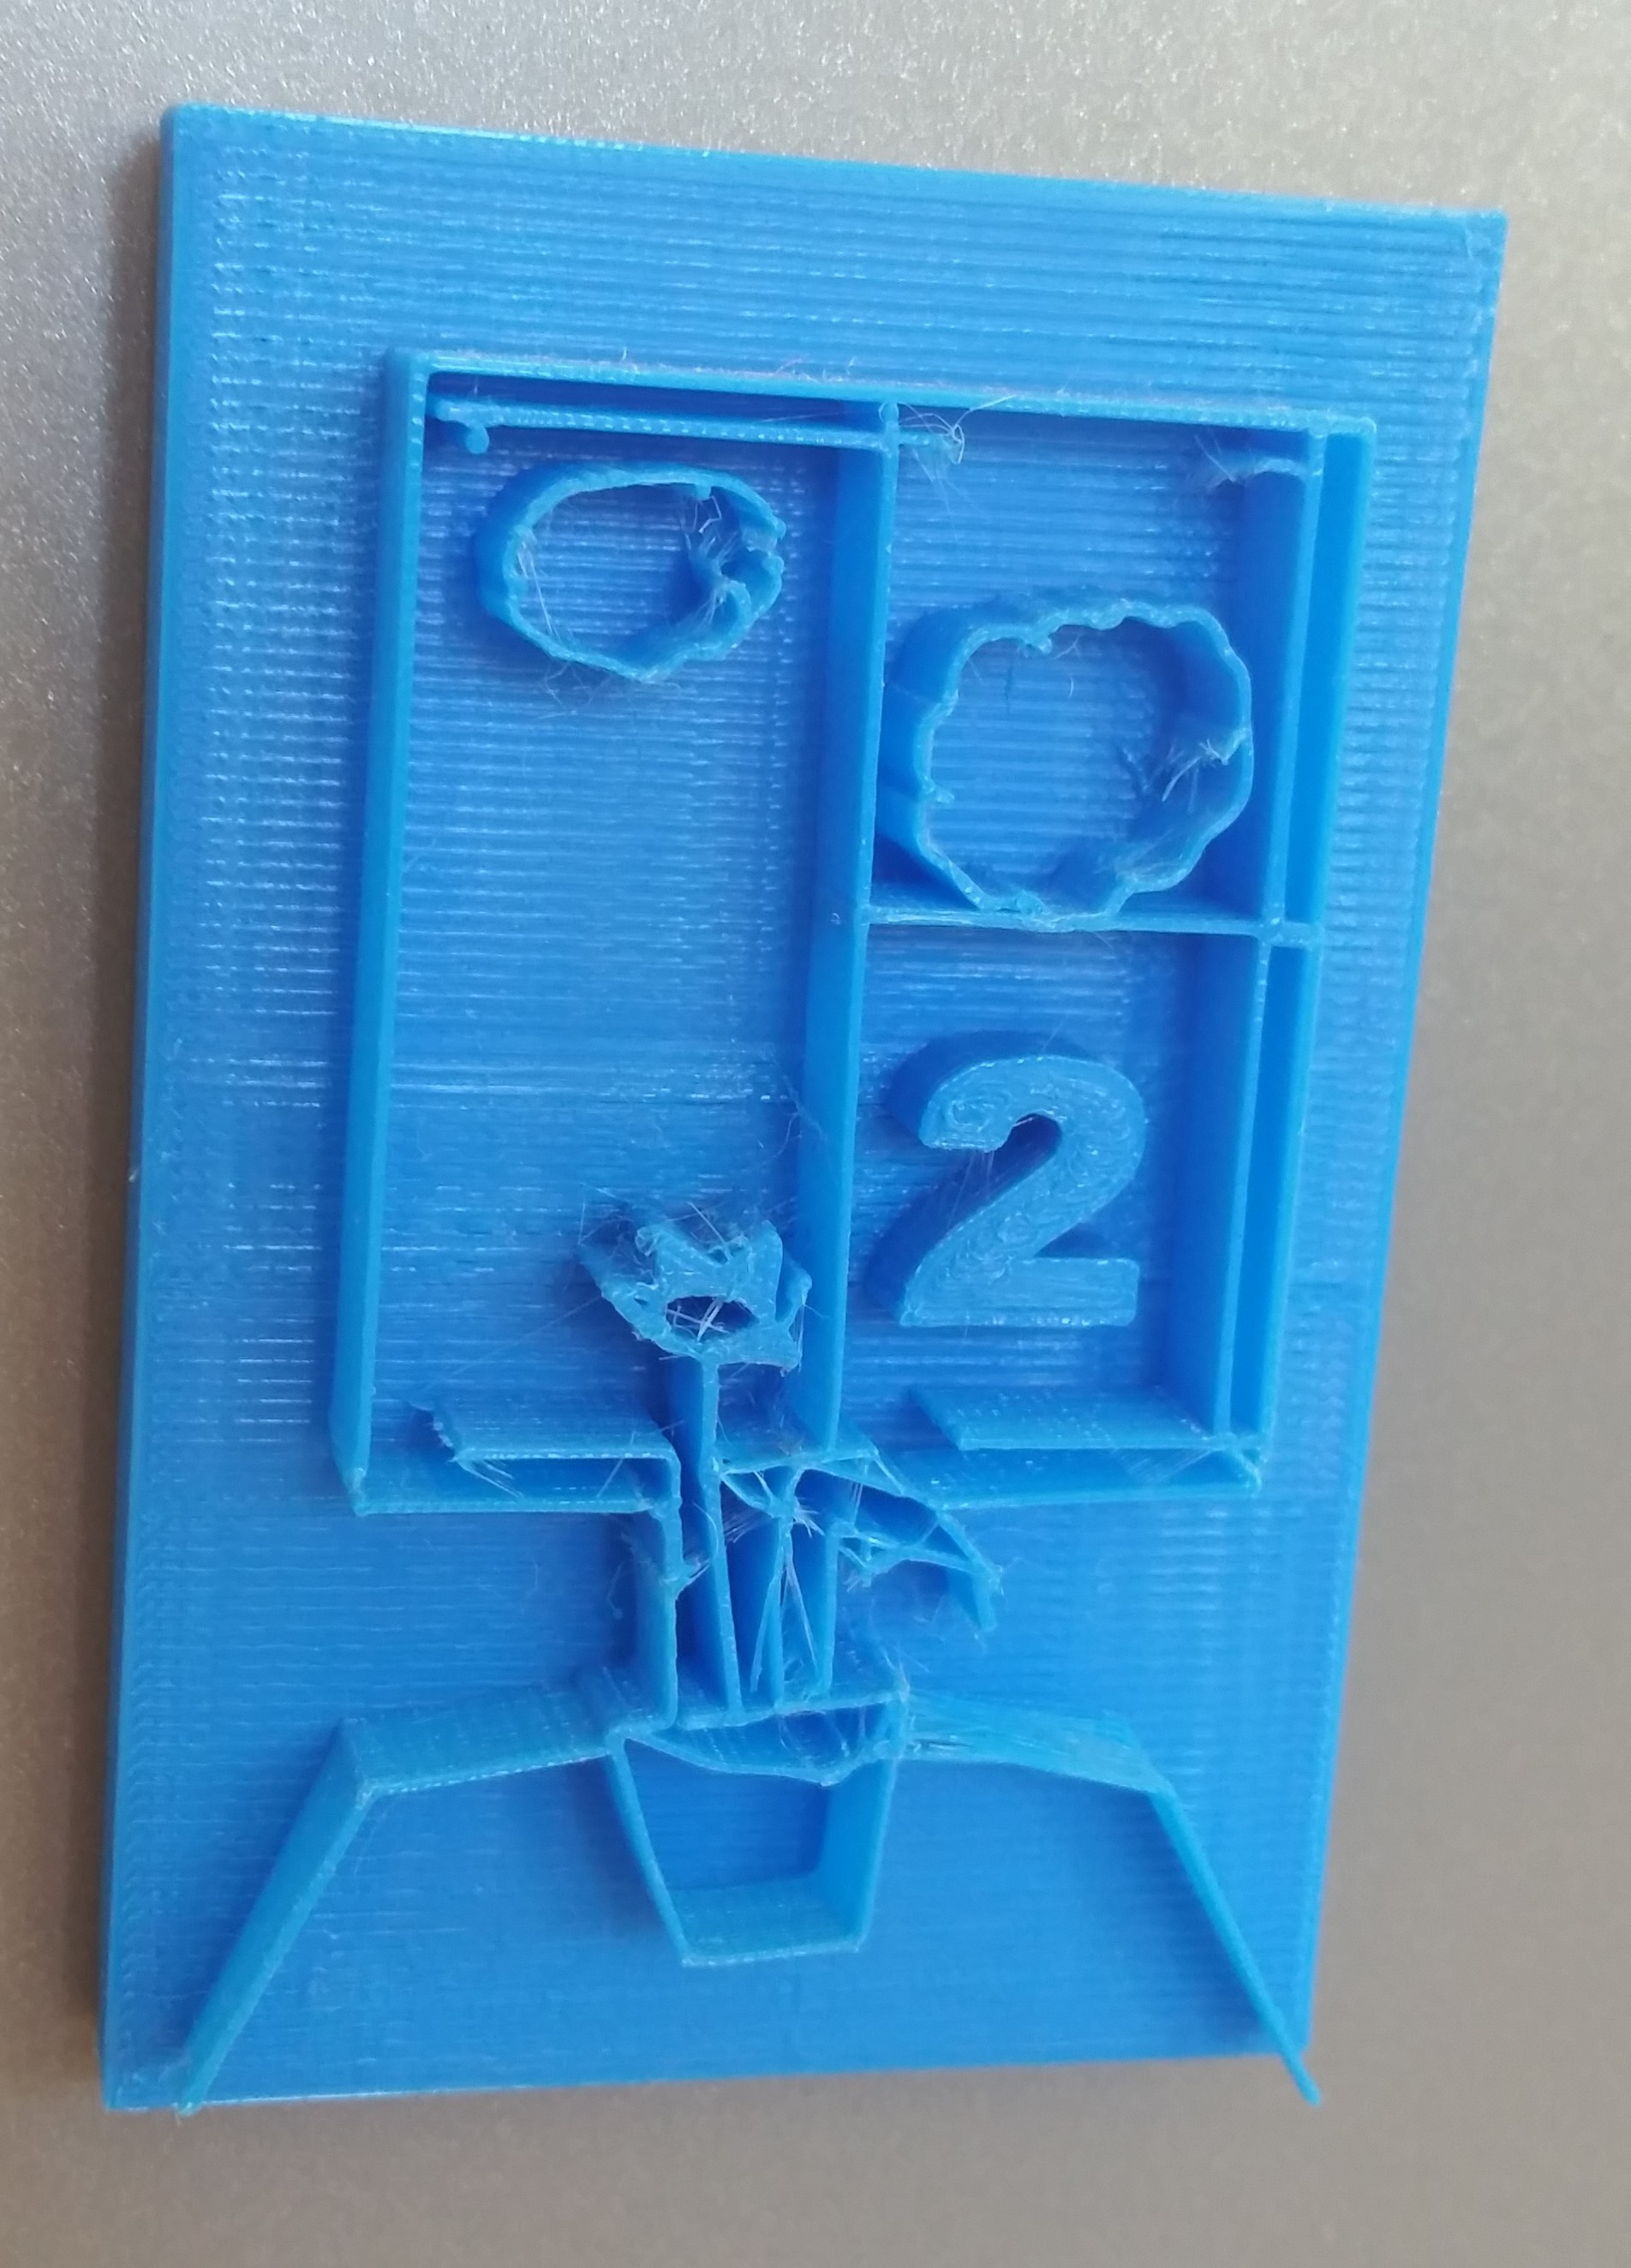
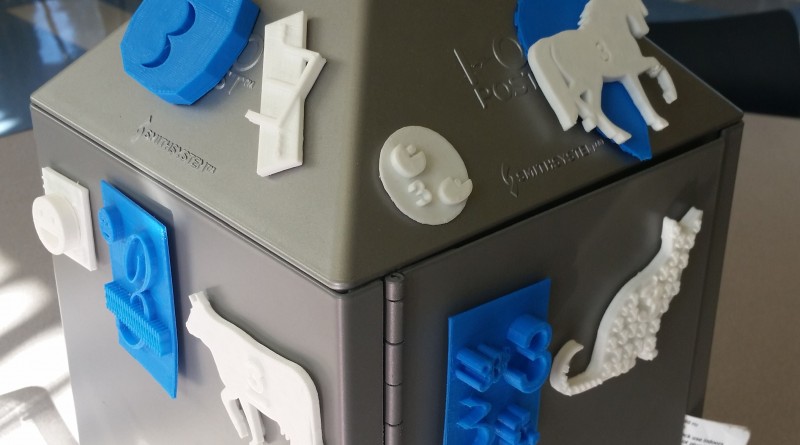
To create the table numbers, one of my first assignments for the 6th graders was to design a number for their table. I originally wanted the students to jump into Tinkercad and design something, but the verification of their accounts (because they aren’t over 13) became a problem so instead they created 2D designs using Google Drawing. This gave them a bit more freedom with the design but unfortunately made the transition to 3D a bit more challenging. Several students used photographs or images in their designs, which did not translate into 3D at all. For this assignment, I ended up doing the 3D designing and took each of their 2D drawings and used my own judgement to make parts of their design jump out. I either downloaded their drawing as a .svg file or used an online converter to transfer the more complicated designs.
After creating the designs, I ended up scaling most of them down to 50% on the Makerbot program to keep the print time for each project to under an hour. Even with the reduced print time, printing all 70 designs took close to a month and was quite a big learning process. It was a very good opportunity for me to learn more about manipulating objects in Tinkercad and for figuring out how to creatively translate a 6th grader’s design idea into 3D shapes.
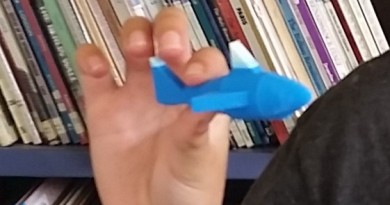
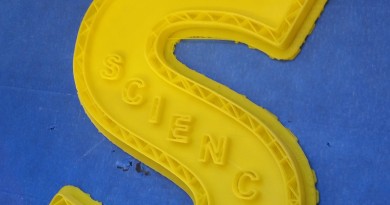
Some creative student examples: