Green Screens
We have a green screen.
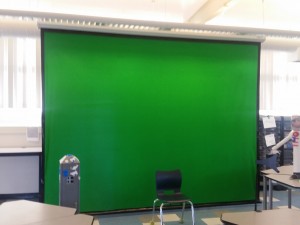
The green screen is comprised of green fabric material glued onto an old projector screen and mounted to one of the beams in the ceiling. The green screen has been here for the entire school year but we hadn’t been able to use it at all because we did not have any devices that could record or process this type of image. All of this changed in March this year.
We received 10 iPads from our district for our site Makerspace and now had the tools to actually use this feature of the classroom. At the start, no one on campus was using green screens so I decided to use my time with the elementary students in the STEM Lab to teach them how a green screen works and to give teachers ideas of how they could incorporate this into one of their class projects. With each class, we started by watching a short video where a newscaster demonstrates how the green screen (chromakey) works youtube.com/watch?v=E7543VyHYf4. The younger students definitely found this to be much more magical than the older students, but still exposing the actual set behind the weather screen is a reveal we’re not used to seeing.
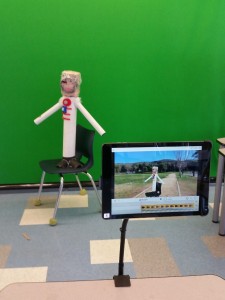
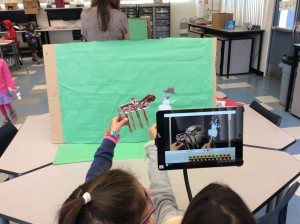
Next I had the students turn to observe our green screen using a model spaceman created by a group of 6th graders. This spaceman worked well because he was mostly white and black (which aren’t affected by the chromakey) but the red and blue on his jacket could be selected and made invisible. The app we are using for green screens is called DoInk and is available for iPads only. To bring this even more to life, I took photos all around campus so that students would immediately recognize the backgrounds and have a personal connection to the process rather than using an arbitrary stock photo.
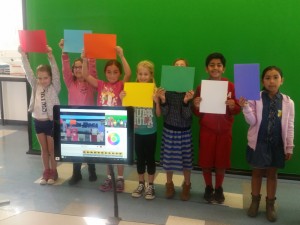
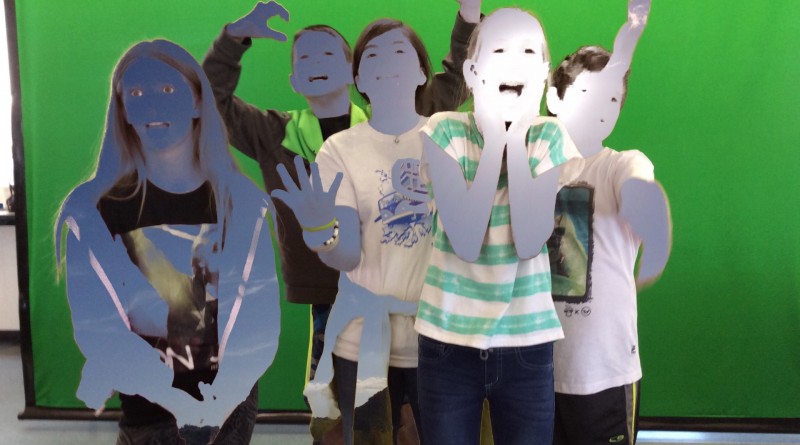
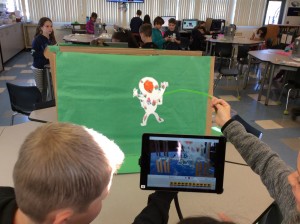
One of my favorite and dramatic examples of chromakey is the model above. I had students hold different colored paper so that the way certain colors were chosen and appeared and disappeared was dramatic. This demonstration really solidified for the students that they couldn’t wear green when using a green screen. I have a green jacket that I wear frequently and that also was useful to dramatically make my hands appear to float in midair. Also, at this point the effect was only visible on the small screen so I was able to set up airServer on the iPad to project the screen onto the large screen in my classroom. This allowed the students who were standing in front of the screen to also be able to see what they looked like.
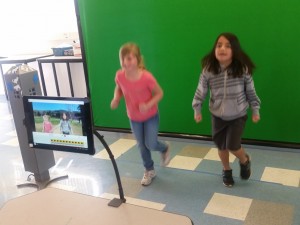

To give all students an opportunity to experiment with the green screen, I had the K-2 students come up in pairs and to act out some reasonable motion in front of the picture. The students in front of the track went for a jog, the ones in the computer lab tried to reach the keyboard, etc. For grades 3-5, I had them form groups and assigned each group a background. They had a few minutes to plan a short skit in front of that background. They also had the opportunity to make props out of paper, which was a good opportunity to see which students understood the idea of using green to make things disappear. Overall these scenes were a bit disjointed but were lots of fun for the students to be silly and play with the video tools.
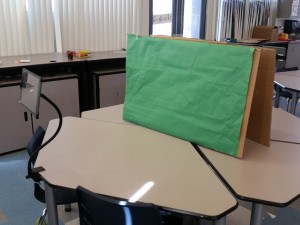
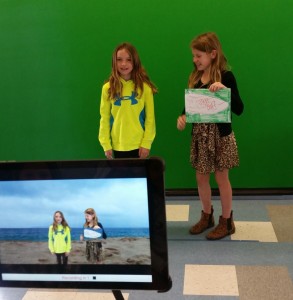
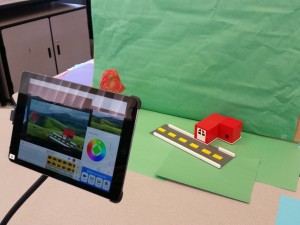
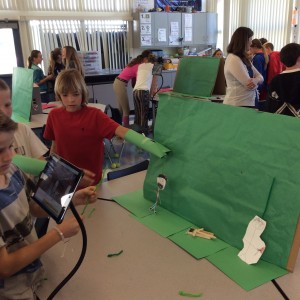
The second time the students returned to the STEM Lab, I set up 4-6 stations around the room where students could record their own green screen video. This time I had each grade level give me a topic related to their current studies in class and then chose backgrounds for the students to use that related to that topic. Rather than use the large green screen, I made smaller green screens with green butcher paper attached to cardboard pieces. These worked pretty well but were most successful when we also put green construction paper down on the table as well. For all of this, the iPads were attached to the table with stands, which made it possible for the students to make a stable video or take stable photos.
After spending so much time on green screens this year, I hope to be able to jump into more of these activities this next year without the full introduction. I also have offered these tools for teacher to use for their own projects so I hope they will be more willing to try this out having seen what is possible. At open house I had a station with this set up and it was wonderful to see various students of all ages come through and excitedly show their parents how to record something with the green screen.
Student Samples
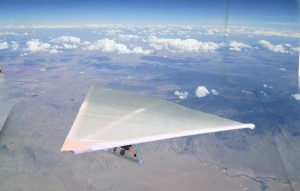
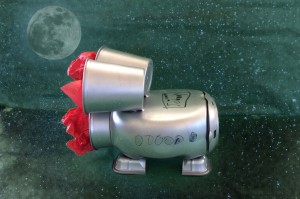
A horse and a snowman becoming friends in outer space
3rd grade spaceman full of (green) holes orbiting outside the ISS
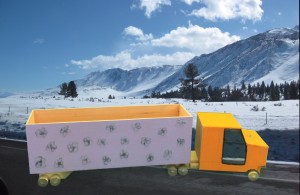
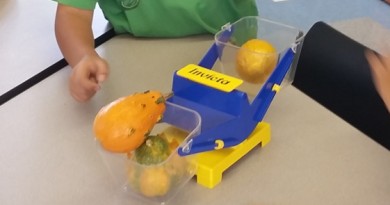
Kindergarten vehicles located in appropriate settings
6th graders created a stop-motion model of a volcano erupting
5th graders created their own technology to hide their hands while creating scenes for the Industrial Revolution
1st grade students explore different kinds of weather
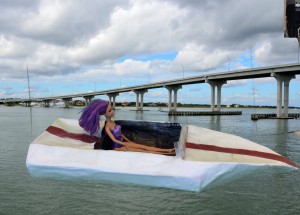
4th grade recreation of part of Island of the Blue Dolphins
The Boston Tea Party
Online Resources
Green Screen Intro Teacher Guide
Green Screen Puppet Intro 1st Grade Weather 3rd Grade Space