Borax Crystals
Objective:
To create a nucleus for crystal formation. To participate in a slow scientific experiment
Key Words/concepts:
Crystal
Nucleus- the center of something
Overview of Lesson:
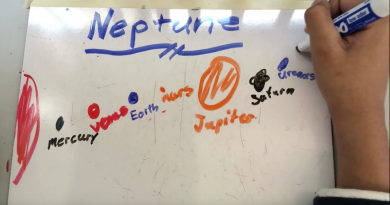
After having done several recent activities that culminated in a worksheet, I decided to instead have the students not do any writing and just create. This was part two of the previous lesson on destroying crystals, because now students would be growing crystals. I made the comparison between the two by considering the time it took for ice to melt and then thinking about how long it would take to freeze and for crystals to grow. I showed several short videos from the awesome website snowcrystals.com to show them the crystal growing outward from a central nucleus. I decided that nucleus was the word I would focus on for all grade levels to get them to think about the central shape that their crystals would be growing from. To grow crystals we used Borax, so I went into the explanation of where borax comes from and showed them the location of Boron, California on a map and how you can actually see the borax deposits on Google maps.
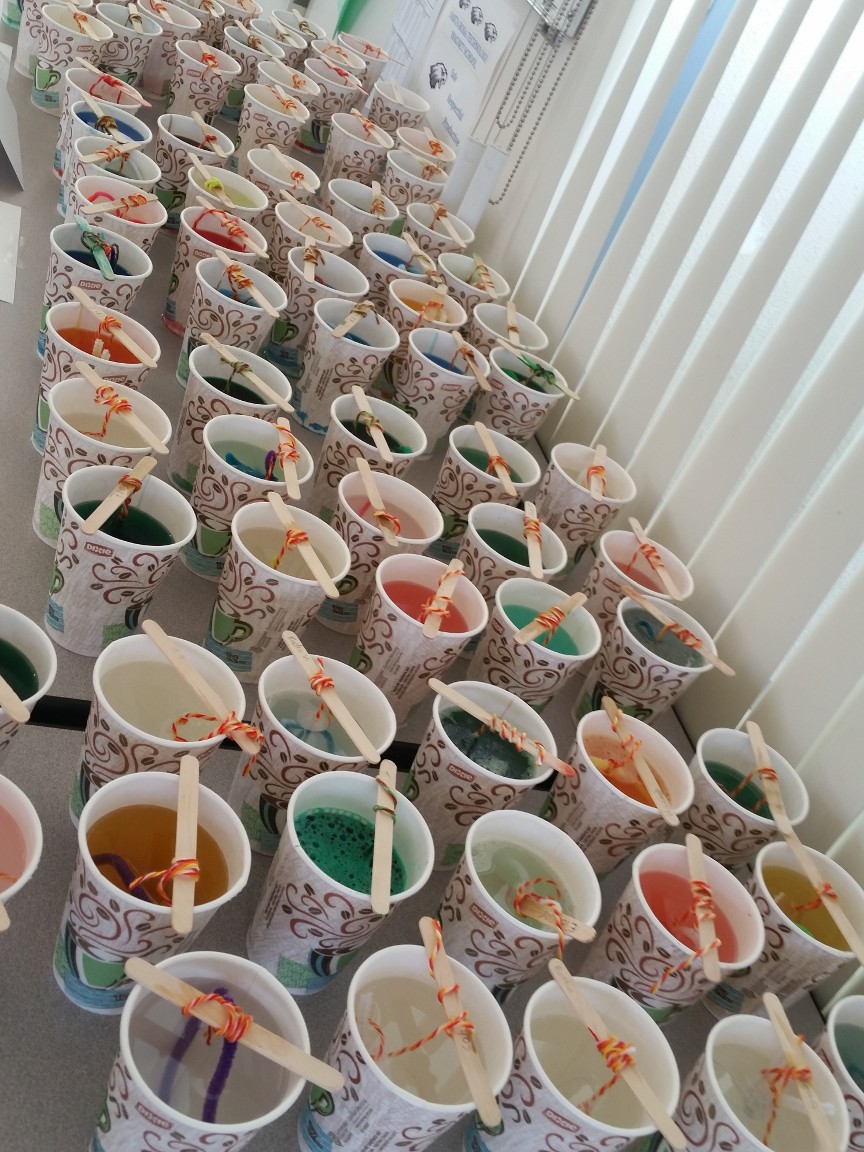
To prepare for crystal growth, the students went step by step through my algorithm to get their projects ready. I found it helpful to demonstrate the entire process at the beginning and then to go through the steps again slowly as the students were working. To increase the scientific rigor of this task, I allowed students to experiment and add other items to their cup to see if it would augment or inhibit crystal growth. They were indeed warned that this might mean that they had no crystals, but many of the students were willing to take that gamble. By the end of the class period, everyone had created their nucleus, filled their cup with the borax and other materials, and left them in the room so that I could add the boiling water later. The borax crystals cool and form overnight so the crystals were able to be returned to the students the following day (or two days after as my schedule allowed).
Differentiation by age groups:
3-5 students were allowed to experiment with additional additives
2nd only added food coloring
Materials/Requirements:
–> Borax- available at most grocery/big box stores in the laundry detergent section
–> Cups- I have done this activity before in glass or mugs with smaller groups. For the large groups, I used disposable hot drink cups
–> Pipe cleaners- these were for bending into the nucleus. I used to get only white ones but this time I had some different colors and types for students to experiment with
–> Short pieces of string- yarn or otherwise for suspending the nucleus in the solution
–> popsicle sticks- for suspending the crystals across the top of the cup
–> A method for boiling large amounts of water- pot on a hot plate, electric tea kettle, microwave, etc
–> Additives: food coloring, sugar, salt, calcium carbonate, oil, baking soda, etc.
Conclusions/Reflections for the future:
This is an activity that I’ve been doing for quite a while and have learned several things from doing it over the years. First, it takes a really long time to boil water on a hot plate. I bought a large tamale-steamer pot for the purpose of boiling large amounts of water and it easily takes an hour and a half for it to come to a boil. For efficiency, I planned into the routine this year that I would be adding the boiling water at a later time rather than what I’ve done before with half the class with water and the rest waiting around to be able to finish their projects. I use a ladle to spoon the water into each cup and then mix the materials with a tongue depressor.
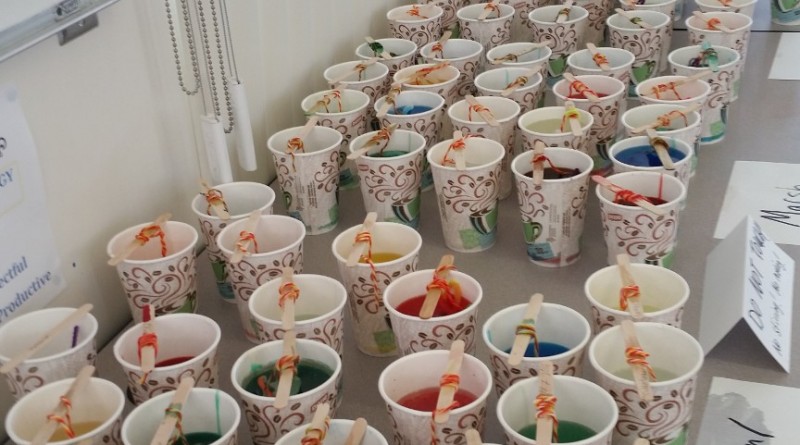
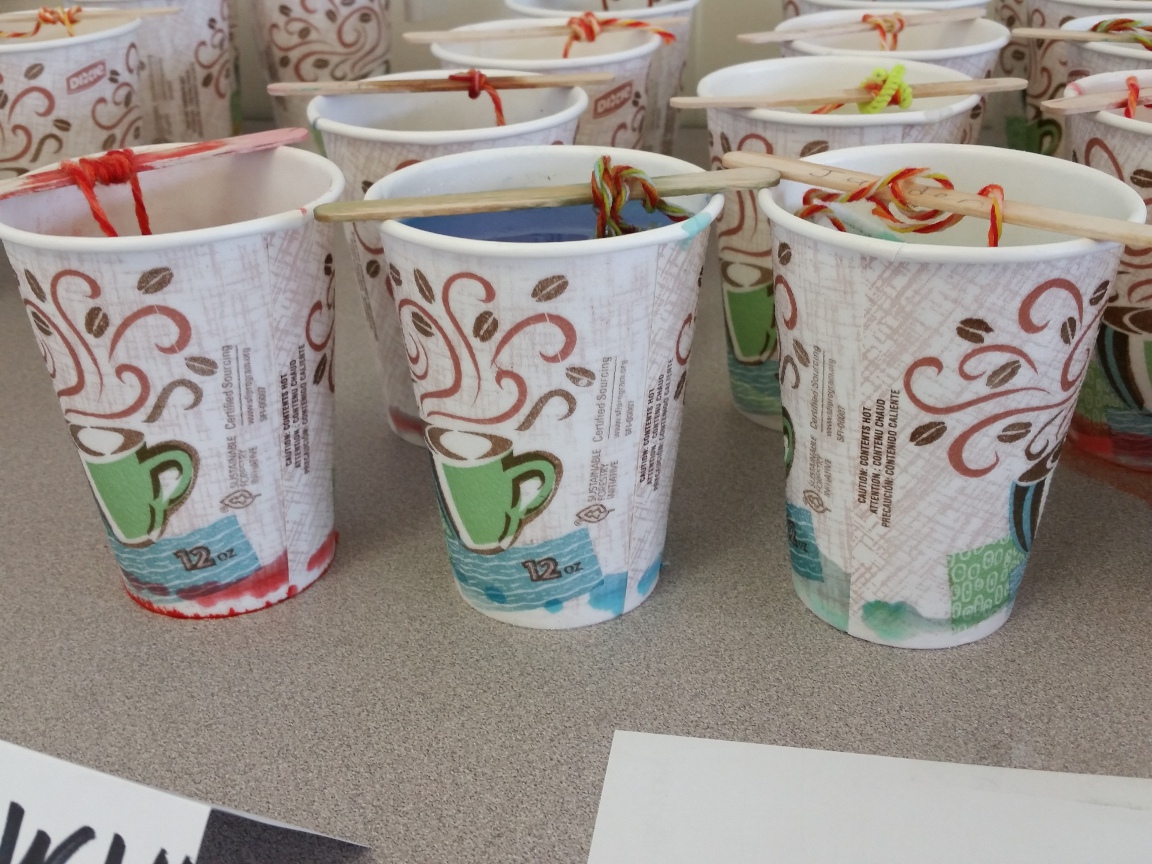
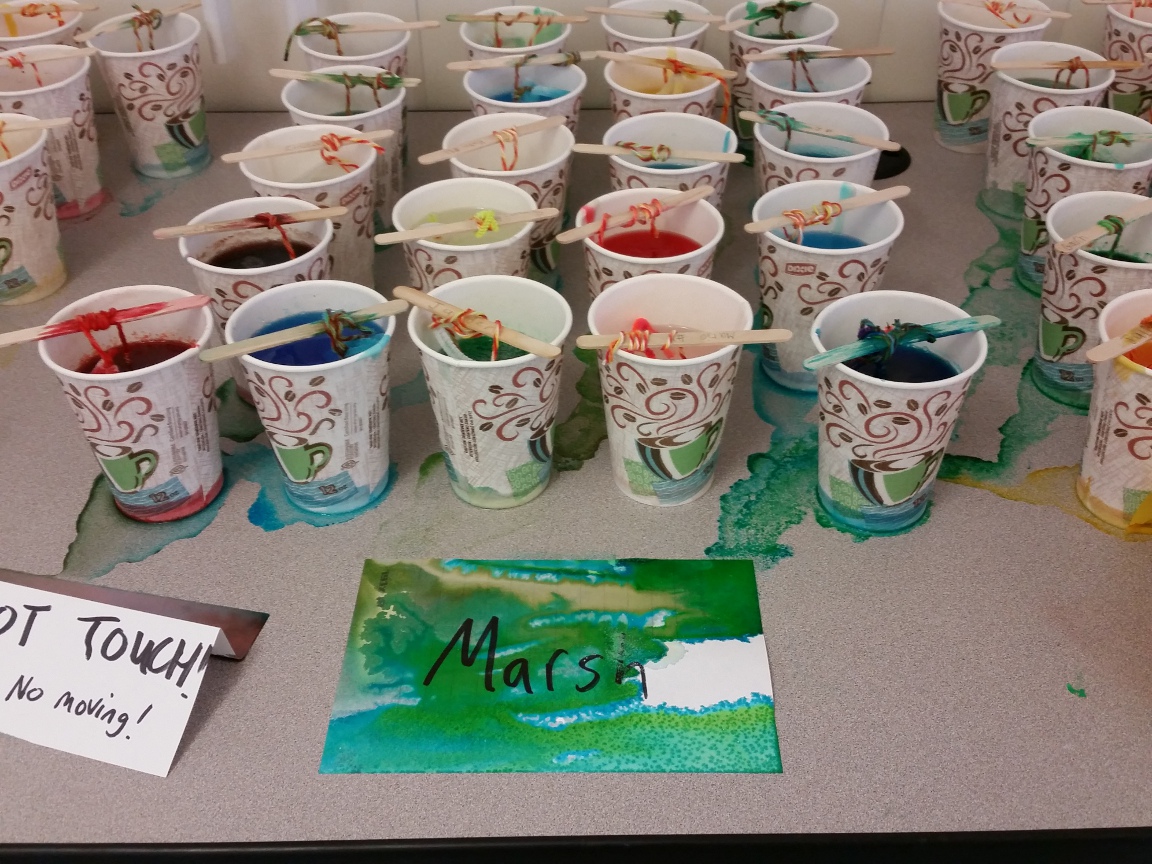
Next major concern has been the cups. Because I originally did this with my 70 6th graders, I asked them all to bring in a mug or glass from home that could hold boiling water for their project. On the day of the activity, over 50% of the students forgot a mug so I scrambled to get every glass jar, beaker, and all the mugs from the teacher’s lounge. This was ok aside from some staff members missing their mugs and then breaking an unacceptably high percentage of the beakers when removing the crystals. This also meant that I would take all the glassware and mugs from school home and wash them in the dishwasher which was a great deal of work and schlepping for me. To ramp up my scale of this project, I invested in disposable coffee cups because I figured that they would be able to withstand the boiling water. Because I worked every other day, I wasn’t able to look at the projects the following day. When I first poured the boiling water in, I noticed that the color was seeping into some of the cups (see 1st photo below). When I returned, two days later, a few of the cups had dissolved around the base and leaked colorful crystals out all over the tables (2nd photo below).
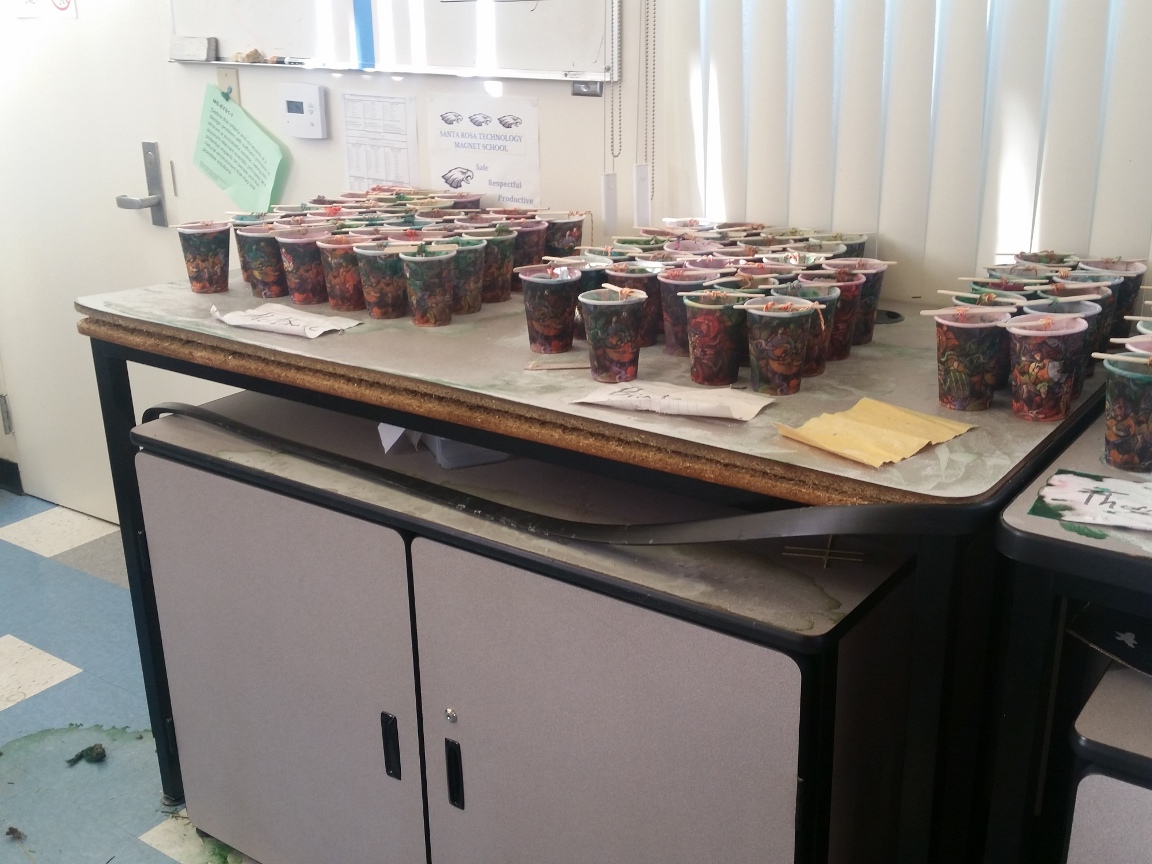
This was a manageable amount to clean up so I continued on my merry way with the next few classes. For my final day’s groups of projects, I was running out of the original cups so I had to go out and buy more of a different brand. As I was filling up these cups, a few of them immediately leaked everywhere which seemed like poor quality control on the manufacturer’s side. Anyway, I had to leave these cups out to grow, which also happened to be over the President’s Day weekend. When I returned after the long weekend, I came back to find the photo below. The vast majority of the cups had failed and leaked their water out. Judging by the crystal growth inside the cups, they didn’t all leak at the same rate, leaving some students with great crystals and some with none because their nucleus was barely suspended in solution. The water that leaked out saturated the particle board table, causing it to deform and separate. So this project ended on a sad note with a destroyed table. What I have learned from all of this: Don’t leave paper cups with water and chemicals for an extended period of time. Also, the only way to clean up crystallized borax is with boiling water so prepare to boil some more water to clean up the mess.
Digital Resources:
Idea Sources:
Mad About Science Grow your own Crystal Snowflake