Melting Ice Cubes
Objective:
Determine which factors make an ice cube melt faster or slower.
This lesson was scheduled for right after our return from winter vacation. I got some input from the different grade levels about the content they were covering in class and tried to find a bridge between their content and an activity that I could do in the STEM Lab. The Kindergarten and first grade were learning about Polar animals and 2nd grade was learning about rocks and minerals. To combine these topics, I created this activity around getting an ice cube to melt. The true purpose of this activity was to allow the students to design their own science experiment and actually practice the NGSS Science Practices. The students spend the rest of their day following instructions so I wanted this experiment to be something of their own design. With the older students I was able to emphasize more about how scientists who are trying to discover something new don’t have the answers and have to make calculated predictions when performing an experiment or trial.
Key words/Concepts:
Hypothesis
Control- as part of a science experiment
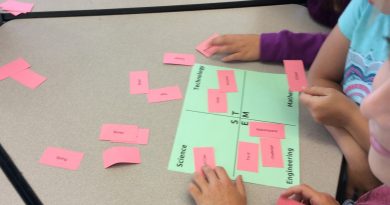
Overview of lesson:
Consider how long it would take for ice to melt if left out in the room. Discuss possible factors that can make ice melt more quickly. Students record hypothesis about several materials and the effects they will have on the ice. For the experiment, every student receives one ice cube and is given ~10 minutes to free a creature trapped in the ice using any of the materials available. After 10 minutes, results are recorded and any remaining ice is disposed of in sink.
Differentiation by age groups:
K, 1st, 2nd- Students chose only 3 out of the 9 possible additives and circled their prediction for each of their items. I had all classes choose Blubber as their first method and then did a demonstration of covering an ice cube with blubber for them to observe. The blubber (Crisco) makes a huge mess and is hard to tell how well it insulates the cube unless you really cover the entire thing. The concept of a control experiment was introduced but not emphasized.
3rd, 4th, 5th- Students made their hypothesis using as many different methods as they wanted. Students could either choose multiple variables or just one. The other aspect I emphasized with them was evidence. We discussed what specific evidence they would see that would tell them that their ice cube was melting. I spent more time with them going over the meaning of the control experiment and explained that the comparison was needed in order to tell if their methods were working.
Materials/Requirements:
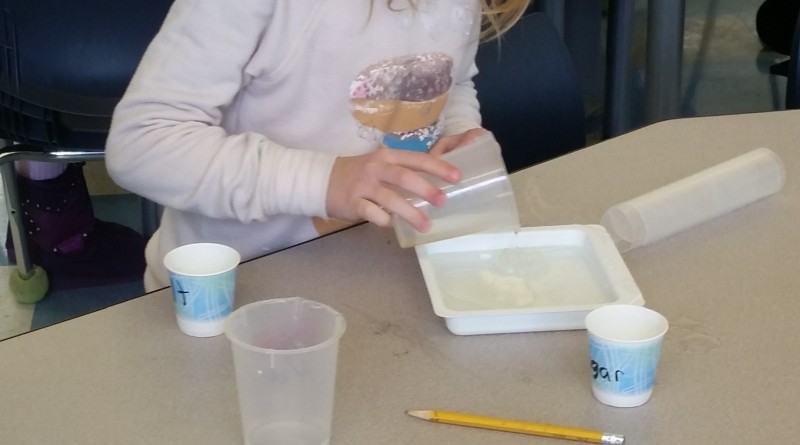
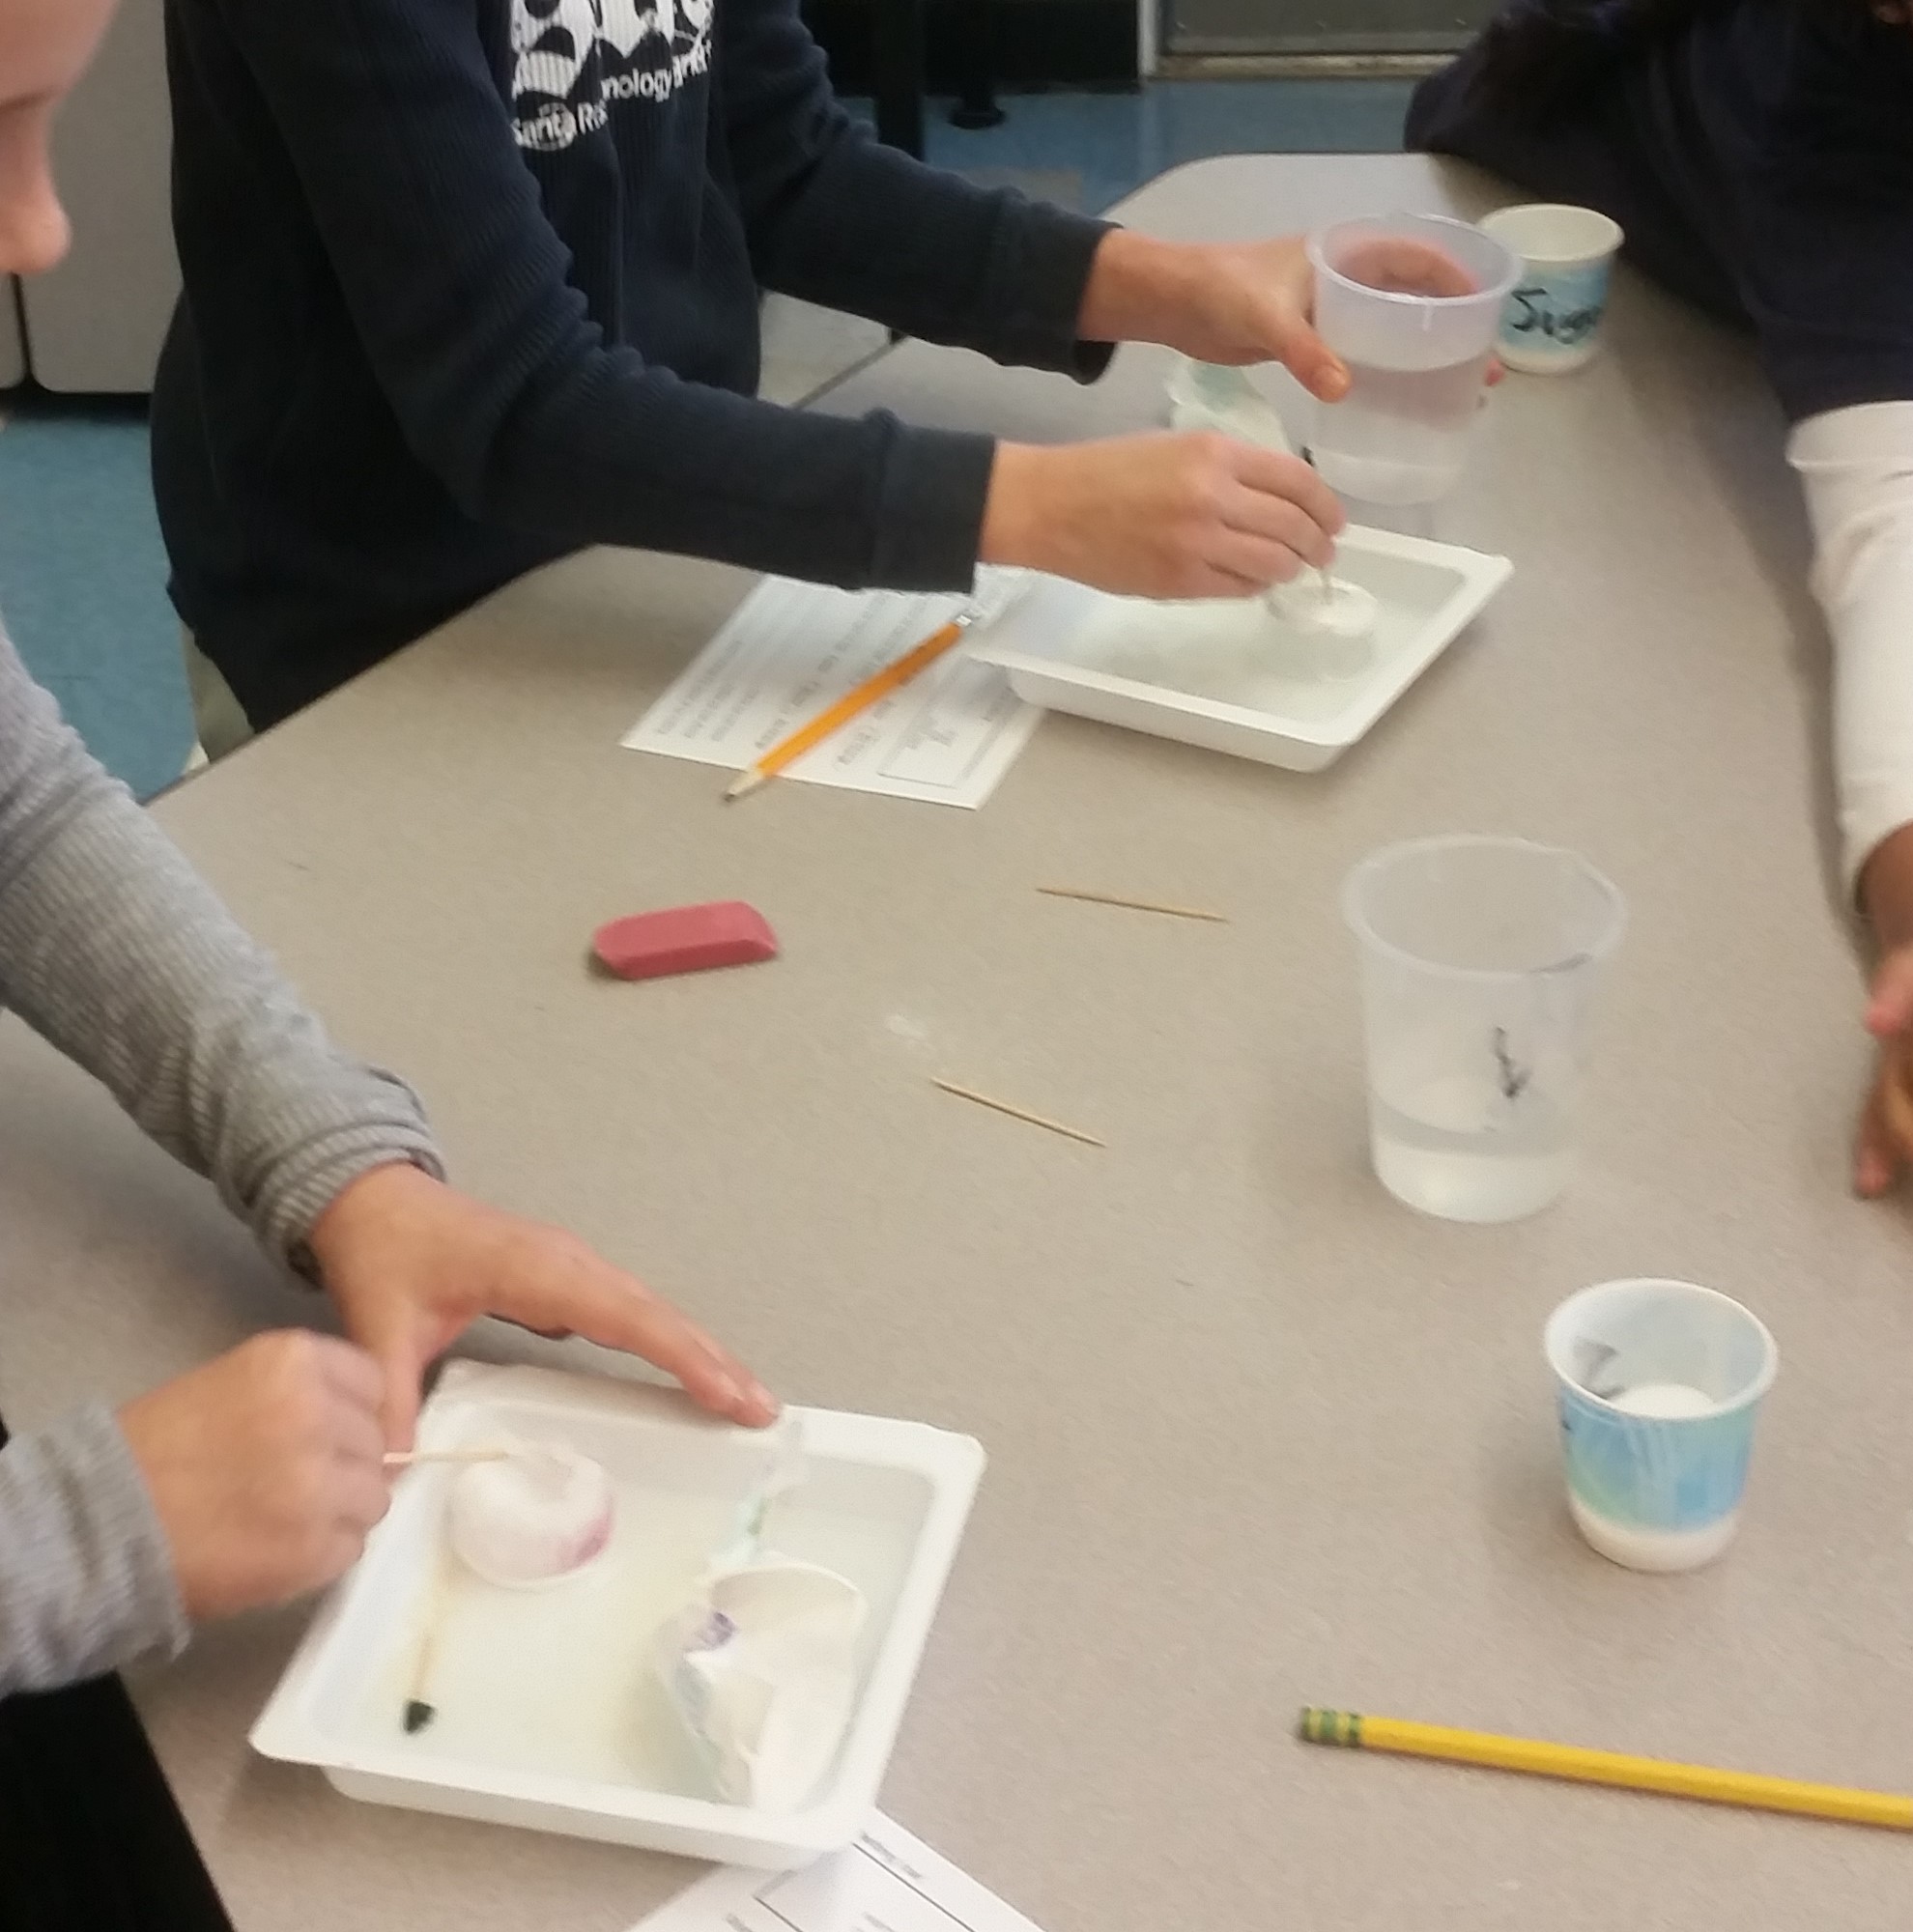
–> Ice cubes for all students- I froze 1 ounce of water in Dixie cups rather than using ice cube trays for this. Created a bit of paper trash but was reasonably easy to transport and distribute.
–> Ice cube treasures- to give them a clear objective when melting the ice cubes, I froze a mini eraser inside of every ice cube. You could use plastic animals or anything else but a bag of 500 mini erasers was within my budget and worked out well. The erasers sank so I put them into the freezing water after an hour to get them to be somewhat trapped in the ice. You could always freeze half of the cube, add a prize, and then add more water to the top to freeze it completely in the middle. Because my students only had ~10 minutes to retrieve the erasers, having them within 1/4″ of the edge of the ice was challenging enough.
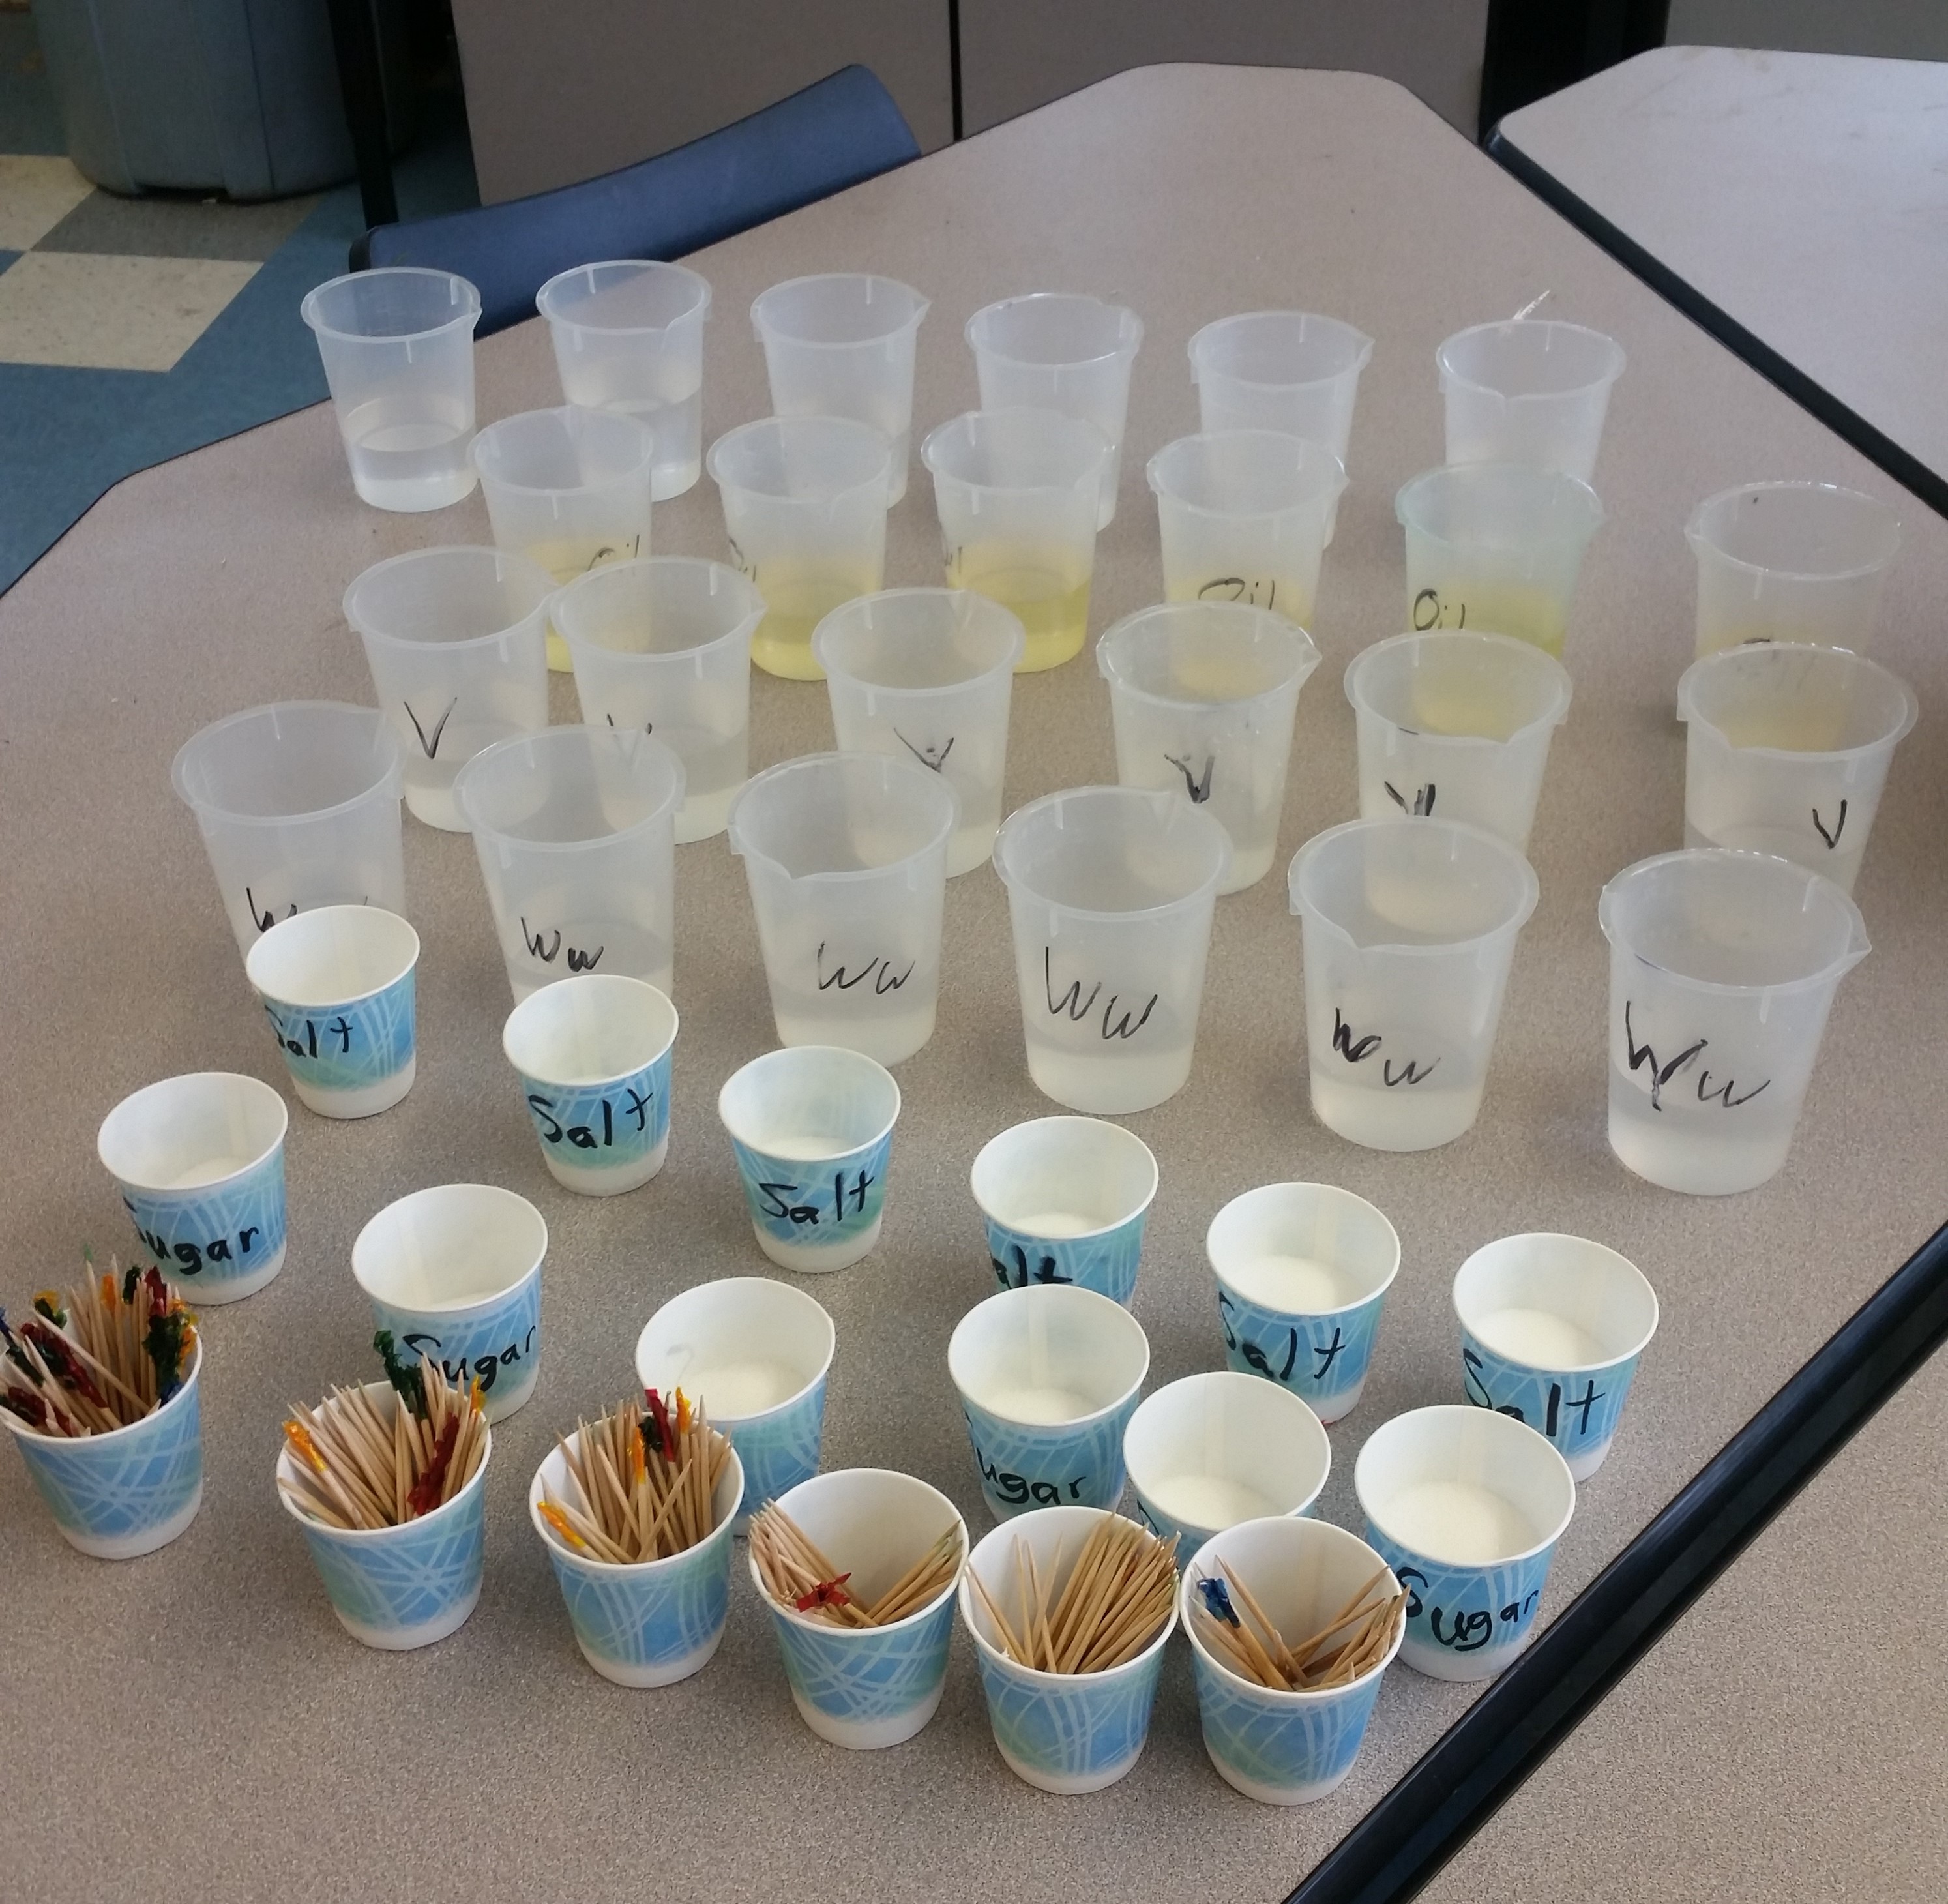
–> Materials for melting the ice- I used warm water, cold water, vinegar, oil, blubber (Crisco), toothpicks, sugar, salt, waxed paper. Other ideas: baking soda (but be careful if you also have vinegar), regular paper, sandpaper, chalk
–> A method for managing the mess! Every student conducted their experiment inside a small plastic tray. The materials were distributed on lids and I labeled the cups so that the same cups could be reused for the same materials multiple times. Paper towels and a sink are very helpful. After the experiment, the students poured out their trays with whatever was left of their ice cubes. It’s best not to pour oil down the sink so that could be collected and disposed of otherwise.
Conclusions/Reflections for the future:
This is a very messy activity. The students enjoyed the freedom to create their own experiment and for the most part were successful at speeding up the melting of the ice. By having 9 materials it was very hard to test one variable in isolation so many of them remarked that oil is successful at melting ice (when combined with salt and warm water…). This assignment could also be restructured to have a group of students test each factor on a different ice cube and record the results. The melting success could be measured precisely with time, changing size of the cube, weight/mass of water loss, etc. I only talked about evidence with the upper grades but I think that discussing evidence with our senses could have been expanded down to the lower grades as well.
Digital Resources:
Idea Sources:
Inner Child Fun: Simple Science – Ice Experiment
Lemon Lime Adventures: Lego Science: An Ice Excavation Experiment
The Chaos and the Clutter: Melting Ice Experiment